In modern times, if we want to know how to get to a place, all we have to do is consult geo-reference or location applications, which guide us in detail along the path we need to take. Although there are still a few people reluctant to these platforms, choosing to stick to old methods like intuition, memory, or paper maps, it would be impossible to deny that these tools have changed our daily lives for the better. Even Google Maps, the leading platform in this segment, not only takes care of that but also has many other functions and a variety of information to provide to the user. This is why it has positioned itself as the best and continues to offer constant updates to its users.
Among the benefits that Google Maps provides, in addition to the already mentioned navigation function, it offers additional information such as address, phone number, website, opening and closing hours, busy areas, among other types of data. Users who utilize the app often highlight the reviews section, containing references and comments from other people who have visited the place, along with other content such as photos or videos.
The truth is that any Map from Google user can give an opinion or even upload a photo taken by them, and this is the interesting part of being able to share our knowledge and information with the entire community. Many wonder how to upload this type of content, and the reality is that it is such an intuitive tool that the process is straightforward. So, in this article, we will focus on the action of how to view if there are photos and contribute visual material on Google Maps, so everyone is aware of the steps to follow.
How to view and add photos or videos on Google Maps
Step 1: Access Google Maps
Firstly, it is important to mention that both the option to view multimedia content that others have previously uploaded about a place and the ability to add more content are available in both versions: the mobile application and the web version of the browser. The recommended method depends a lot on where those images are stored; if they are on the phone, it is easier to do it from the application, and if they are downloaded on the computer, it is better from that device. In any case, the first thing to do is to enter the platform. If you want to do it directly from the desktop version, you have to go to the official website directly: https://www.google.com/maps/
Once there, you can see a white search bar at the top left of the screen. Press there to start the search and select the corresponding place.
Step 2: Select the corresponding place
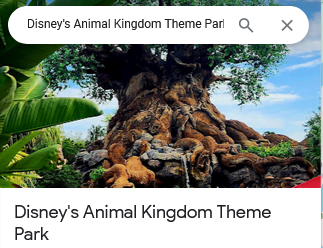
When you stand on the search bar, the keyboard is enabled, and you have to type the name of the place about which you want to find multimedia content. While typing that term, a dropdown opens with different result options that the application finds. All you have to do at this point is press on the correct result, and we emphasize this because in many cases, the site you really want to reach is not ultimately selected. The search bar is quite extensive, so paying attention in this step is crucial.
Step 3: Check for photos

Once you finish with step 2, you can see all the information about the place you selected. We refer to the possibility of knowing the type of place it is, its rating, reviews from other users, phone number, website, busy areas, among other data. Generally, a main photo is displayed as the cover, and right below that, you get the details of the number of photos uploaded of the place. If you want, you can press on that section to view the uploaded photos and videos. If there is no cover photo, there is only a sign that says there is no multimedia content.

However, this information is even better-rated and categorized if we go down almost to the bottom of the screen. There is a section that says photos, and below, we can either view everything or filter by the most recent, videos, among other variables. This way, we can stick with the multimedia content that we are genuinely interested in viewing.
Step 4: Add a photo
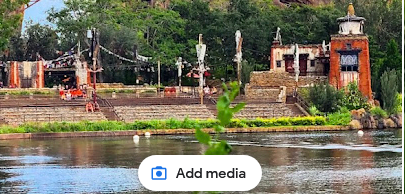
After checking whether there are photos and viewing them, we have the possibility to add a photo or video that we have. Just below that photos section, you can see a button with a camera icon that says “Add a photo.” Click there to advance in the process and upload your multimedia content about the place.
If you do not have your Google account open on the device you are using at that time, a message may appear with the option to access the account; otherwise, you cannot upload files. By simply tapping on “Sign in” and completing the login details, you will be ready to attach the desired content.
Step 5: Select photos or videos

After touching the aforementioned option, a new screen opens with various options available to upload photos. Initially, you can drag the files in case you already have them downloaded on the device, being the simplest and most practical option of all. You can also choose photos from the mobile or “Your photos.”
In any of the three cases, you have to select the photos after uploading them; otherwise, the process does not complete. The last thing left is to tap the blue “Select” button, and you will have finished.

![How to view if there are photos and contribute visual content on Google Maps? [Panoramic photos, 360º, and more]](https://findnearmenow.com/wp-content/uploads/2024/02/banner-para-blog-marketing-digital-azul-marino-y-turquesa-minimalista-22-1024x576.jpg)
